Hi crafters
I should think many of you have seen cards with a personalised watermark and I know, up until a little while ago, I wondered how it was done. Well, I was told about this site which creates a personalised watermark, it looks very professional and all for only a few pound so I thought it might be helpful for others that want to add that profesional touch to their images.
Whimsy Stamps have several templates to choose from, you can add your own blog address, your name or anything else that you feel that personalises your work and you get to choose the font for the text. They say it takes a couple of days to create and get back to you, but from my experience, I received mine back within a couple of hours. Is that good service or what?
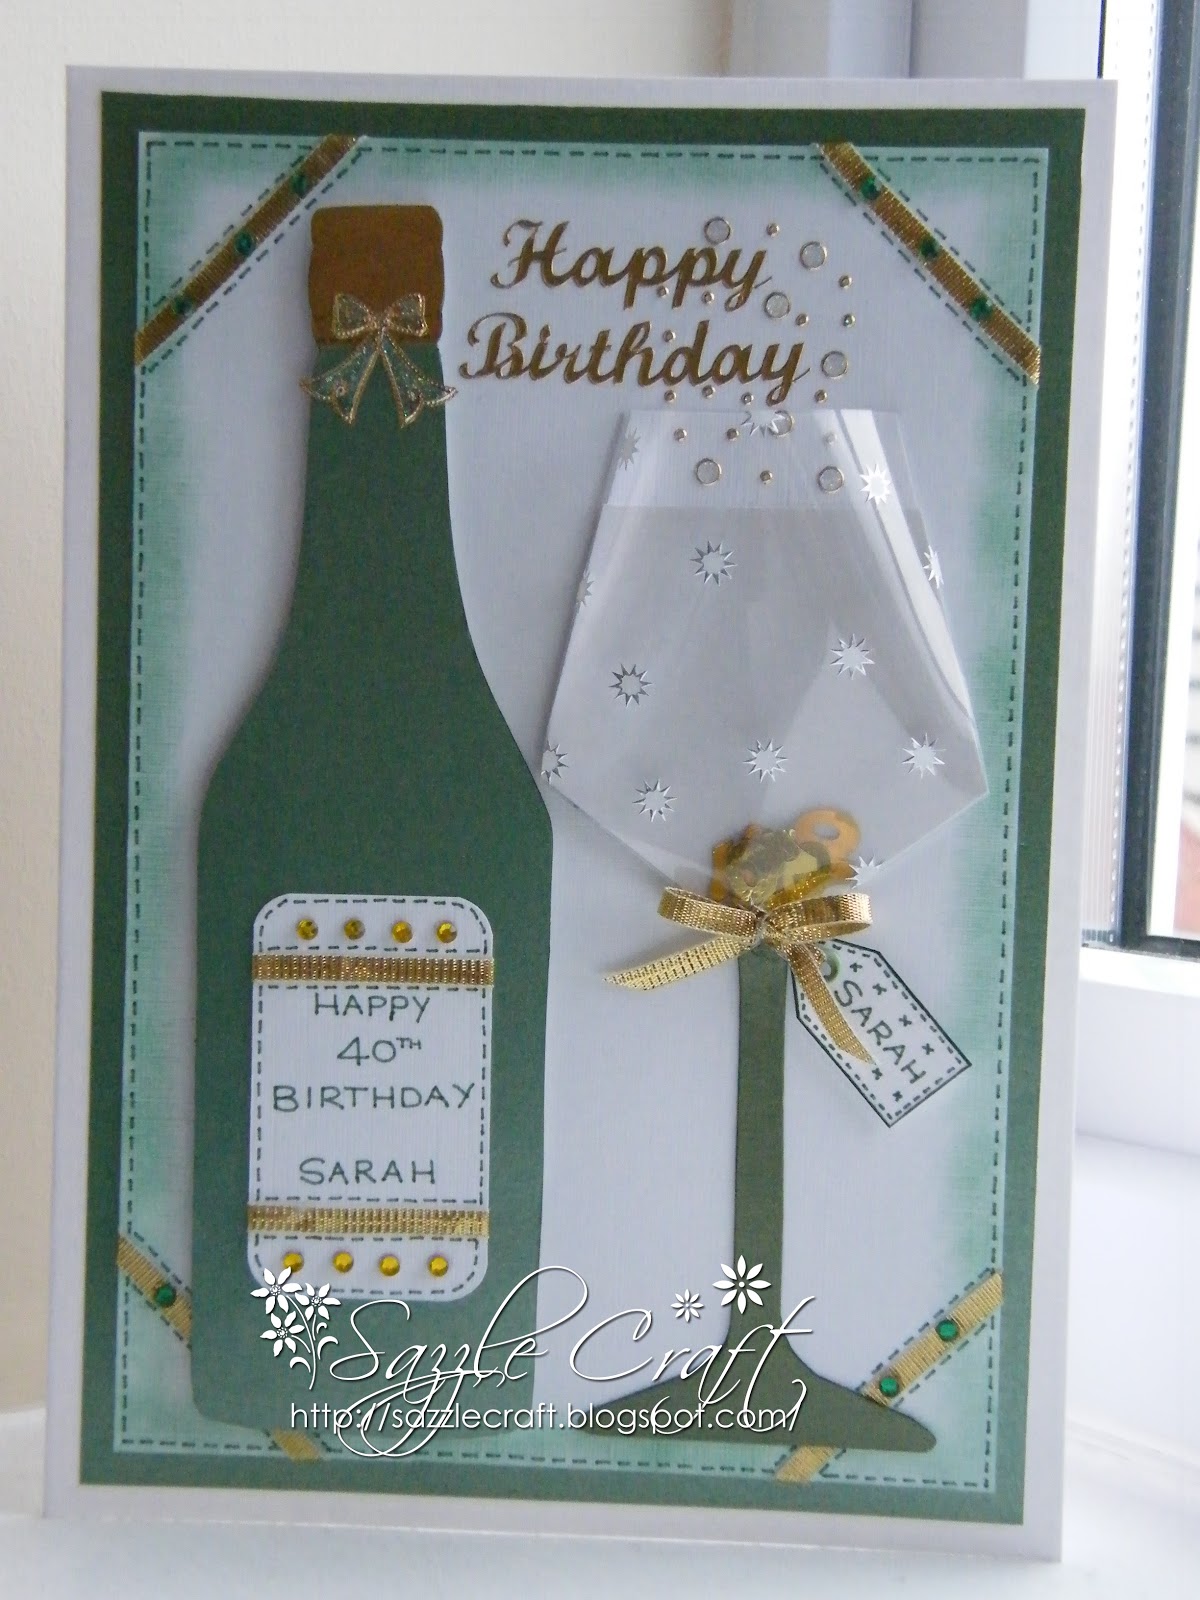
Once your watermark is complete they send it via email as well as including a link to a tutorial for adding the watermark to your images. Within this tutorial you get the chance to use one of three different pieces of software (Paint.net, GIMP or Photoscape) and they can all be downloaded free of charge. Along with each piece of software there is a video to follow which explains how it's done. I chose Paint.net as this took up the least memory. I've attached an example of mine in the image below.
I hope someone finds this useful, I know every bit of information I could find whilst creating my own blog was really, really helpful.
Let me know what you think.


I should think many of you have seen cards with a personalised watermark and I know, up until a little while ago, I wondered how it was done. Well, I was told about this site which creates a personalised watermark, it looks very professional and all for only a few pound so I thought it might be helpful for others that want to add that profesional touch to their images.
Whimsy Stamps have several templates to choose from, you can add your own blog address, your name or anything else that you feel that personalises your work and you get to choose the font for the text. They say it takes a couple of days to create and get back to you, but from my experience, I received mine back within a couple of hours. Is that good service or what?
Once your watermark is complete they send it via email as well as including a link to a tutorial for adding the watermark to your images. Within this tutorial you get the chance to use one of three different pieces of software (Paint.net, GIMP or Photoscape) and they can all be downloaded free of charge. Along with each piece of software there is a video to follow which explains how it's done. I chose Paint.net as this took up the least memory. I've attached an example of mine in the image below.
I hope someone finds this useful, I know every bit of information I could find whilst creating my own blog was really, really helpful.
Let me know what you think.